How I replaced Overleaf with VS Code in my LaTeX workflow
Outline
- tl;dr
- Purpose
- Installing TeX Live
- Installing LaTeX-Workshop
- Using LaTeX-Workshop
- Configuring LaTeX-Workshop
tl;dr
Use the VS Code extension LaTeX-Workshop to set up a local LaTeX environment that resembles Overleaf. You will need a local installation of TeX Live. Read on for a more detailed guide of how to set this up.
Purpose of this post
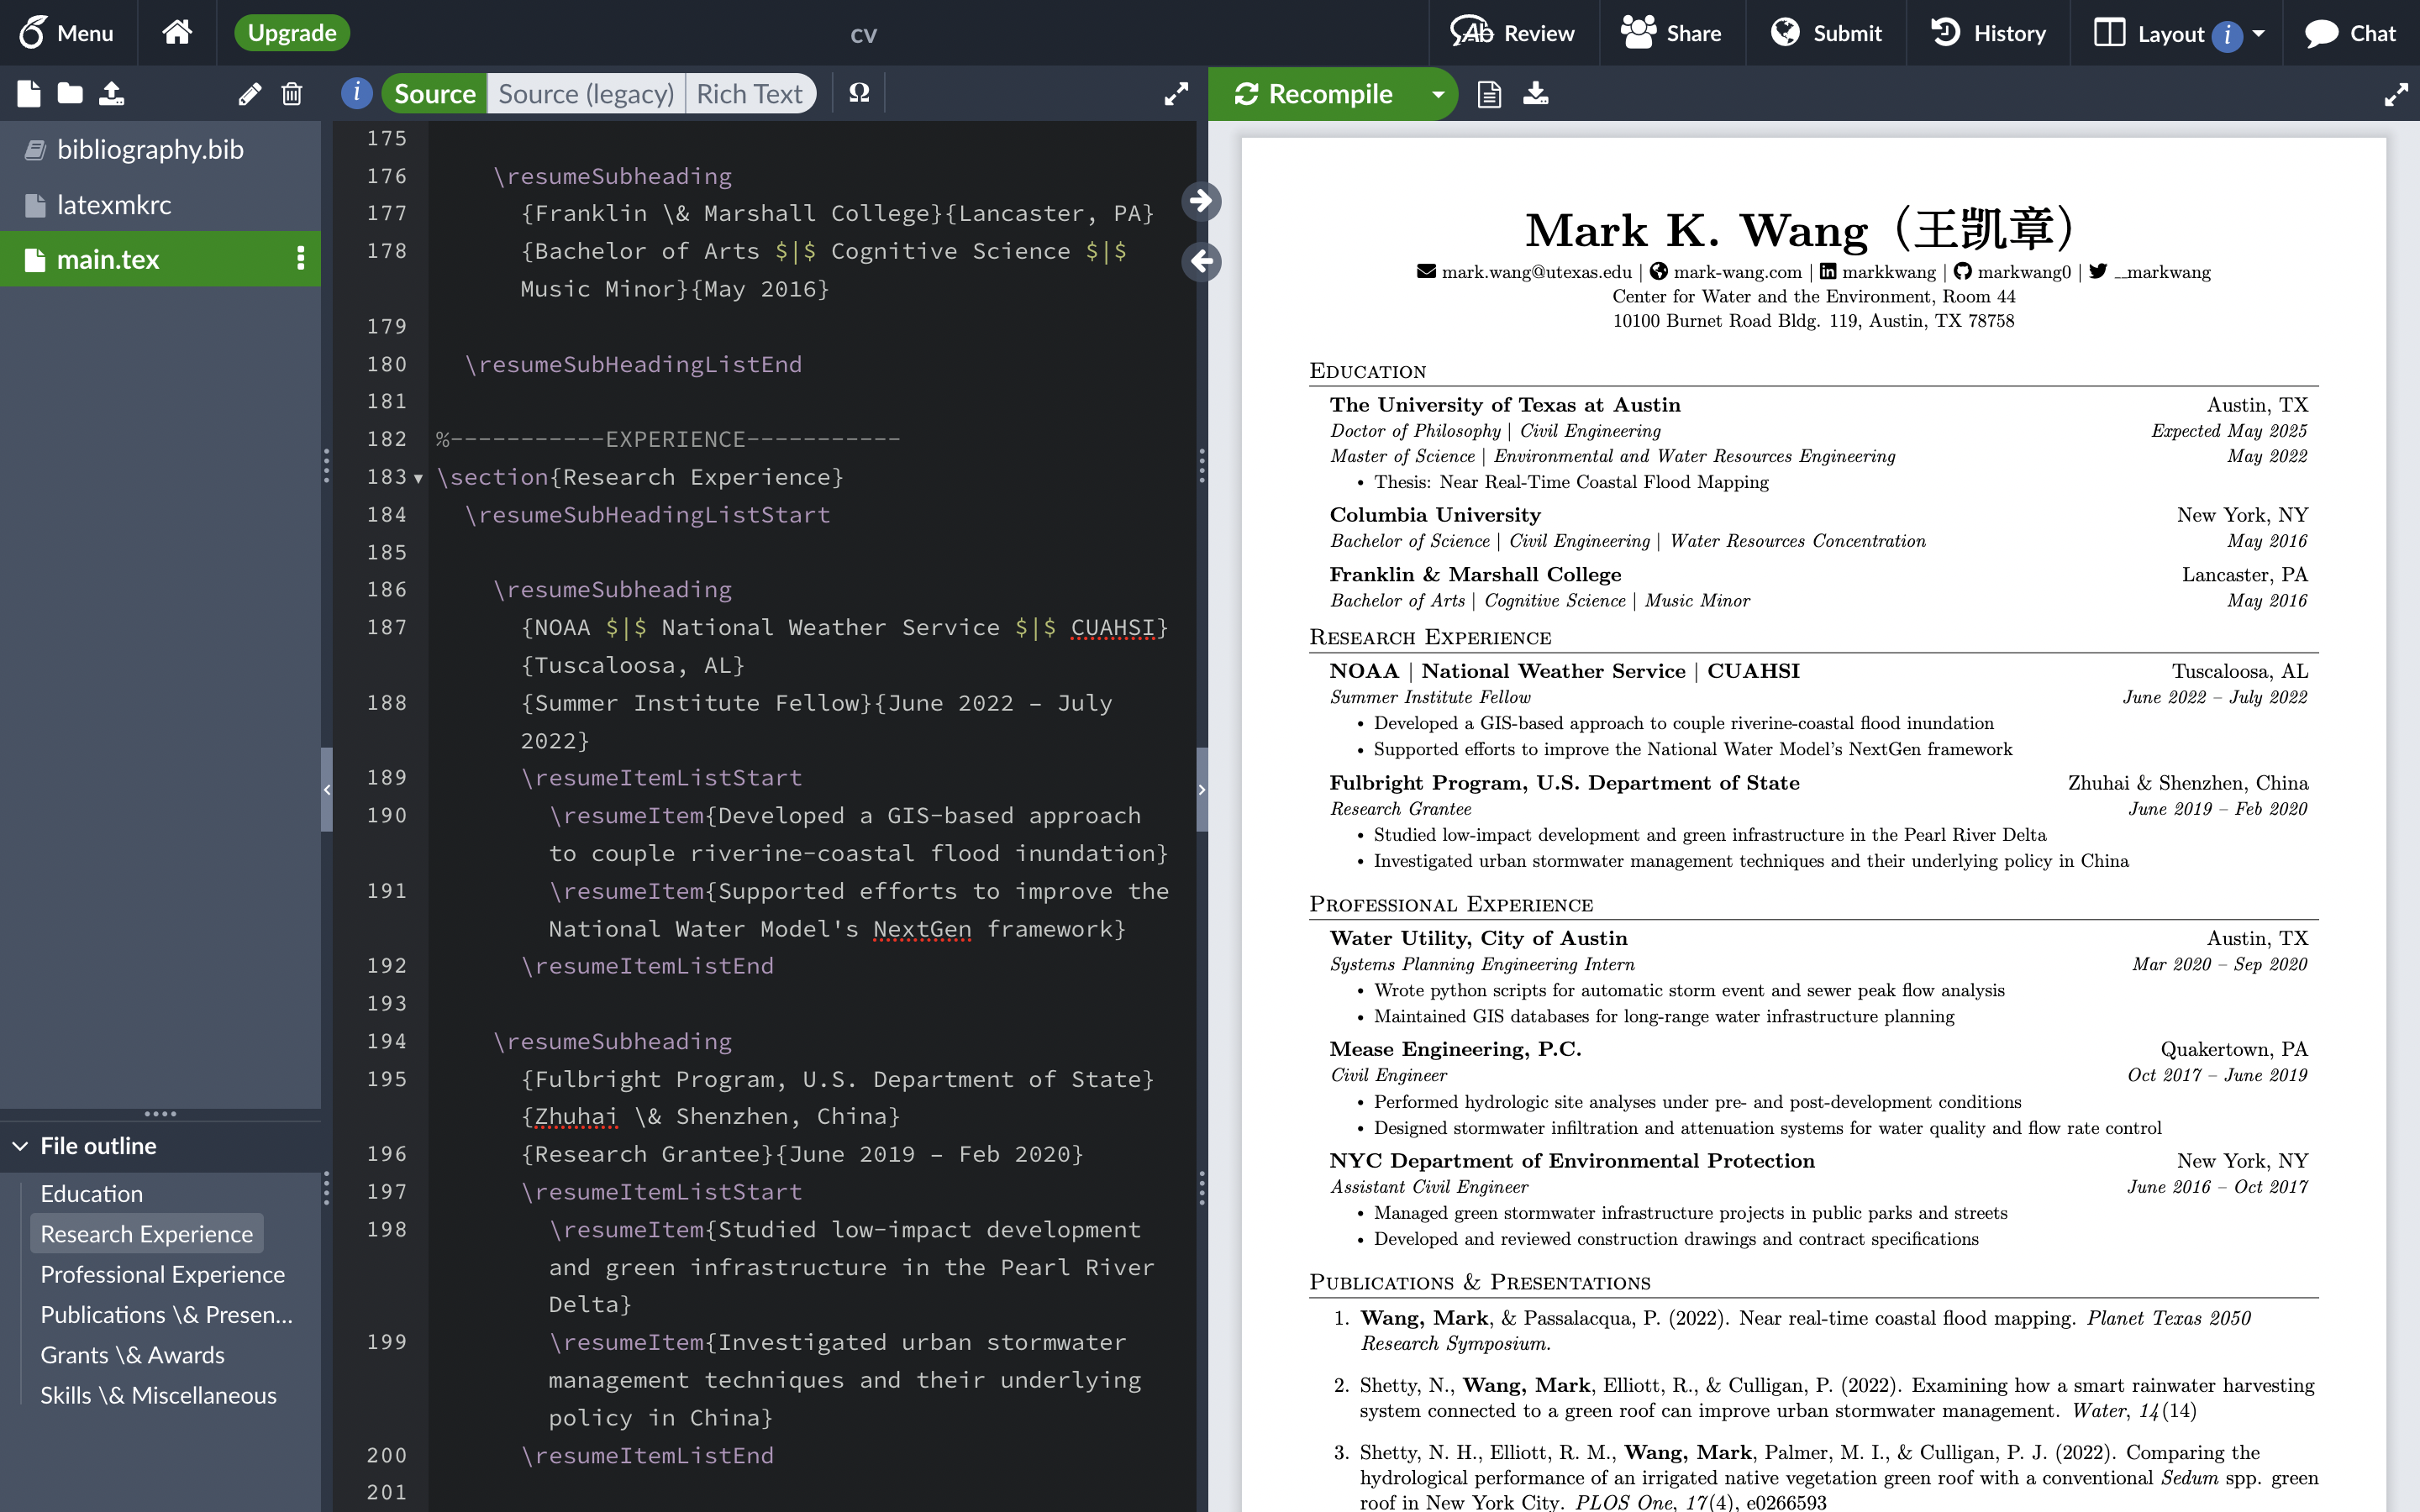
Overleaf is a great online tool for editing and compiling LaTeX documents. It has useful collaboration features and a surprisingly robust free tier membership. However, Overleaf needs an internet connection to compile your documents. Additionally, several useful features are not available in the free tier membership:
- git integration
- cloud drive sync
- longer compile time allocations
I have always wanted to have a local LaTeX environment so I could work offline, have free git integration, and enjoy unlimited compile time. This would also simplify syncing with a cloud drive. However, the time required to get LaTeX working offline did not seem to justify the effort to me, especially when Overleaf has such a convenient environment ready to go.1
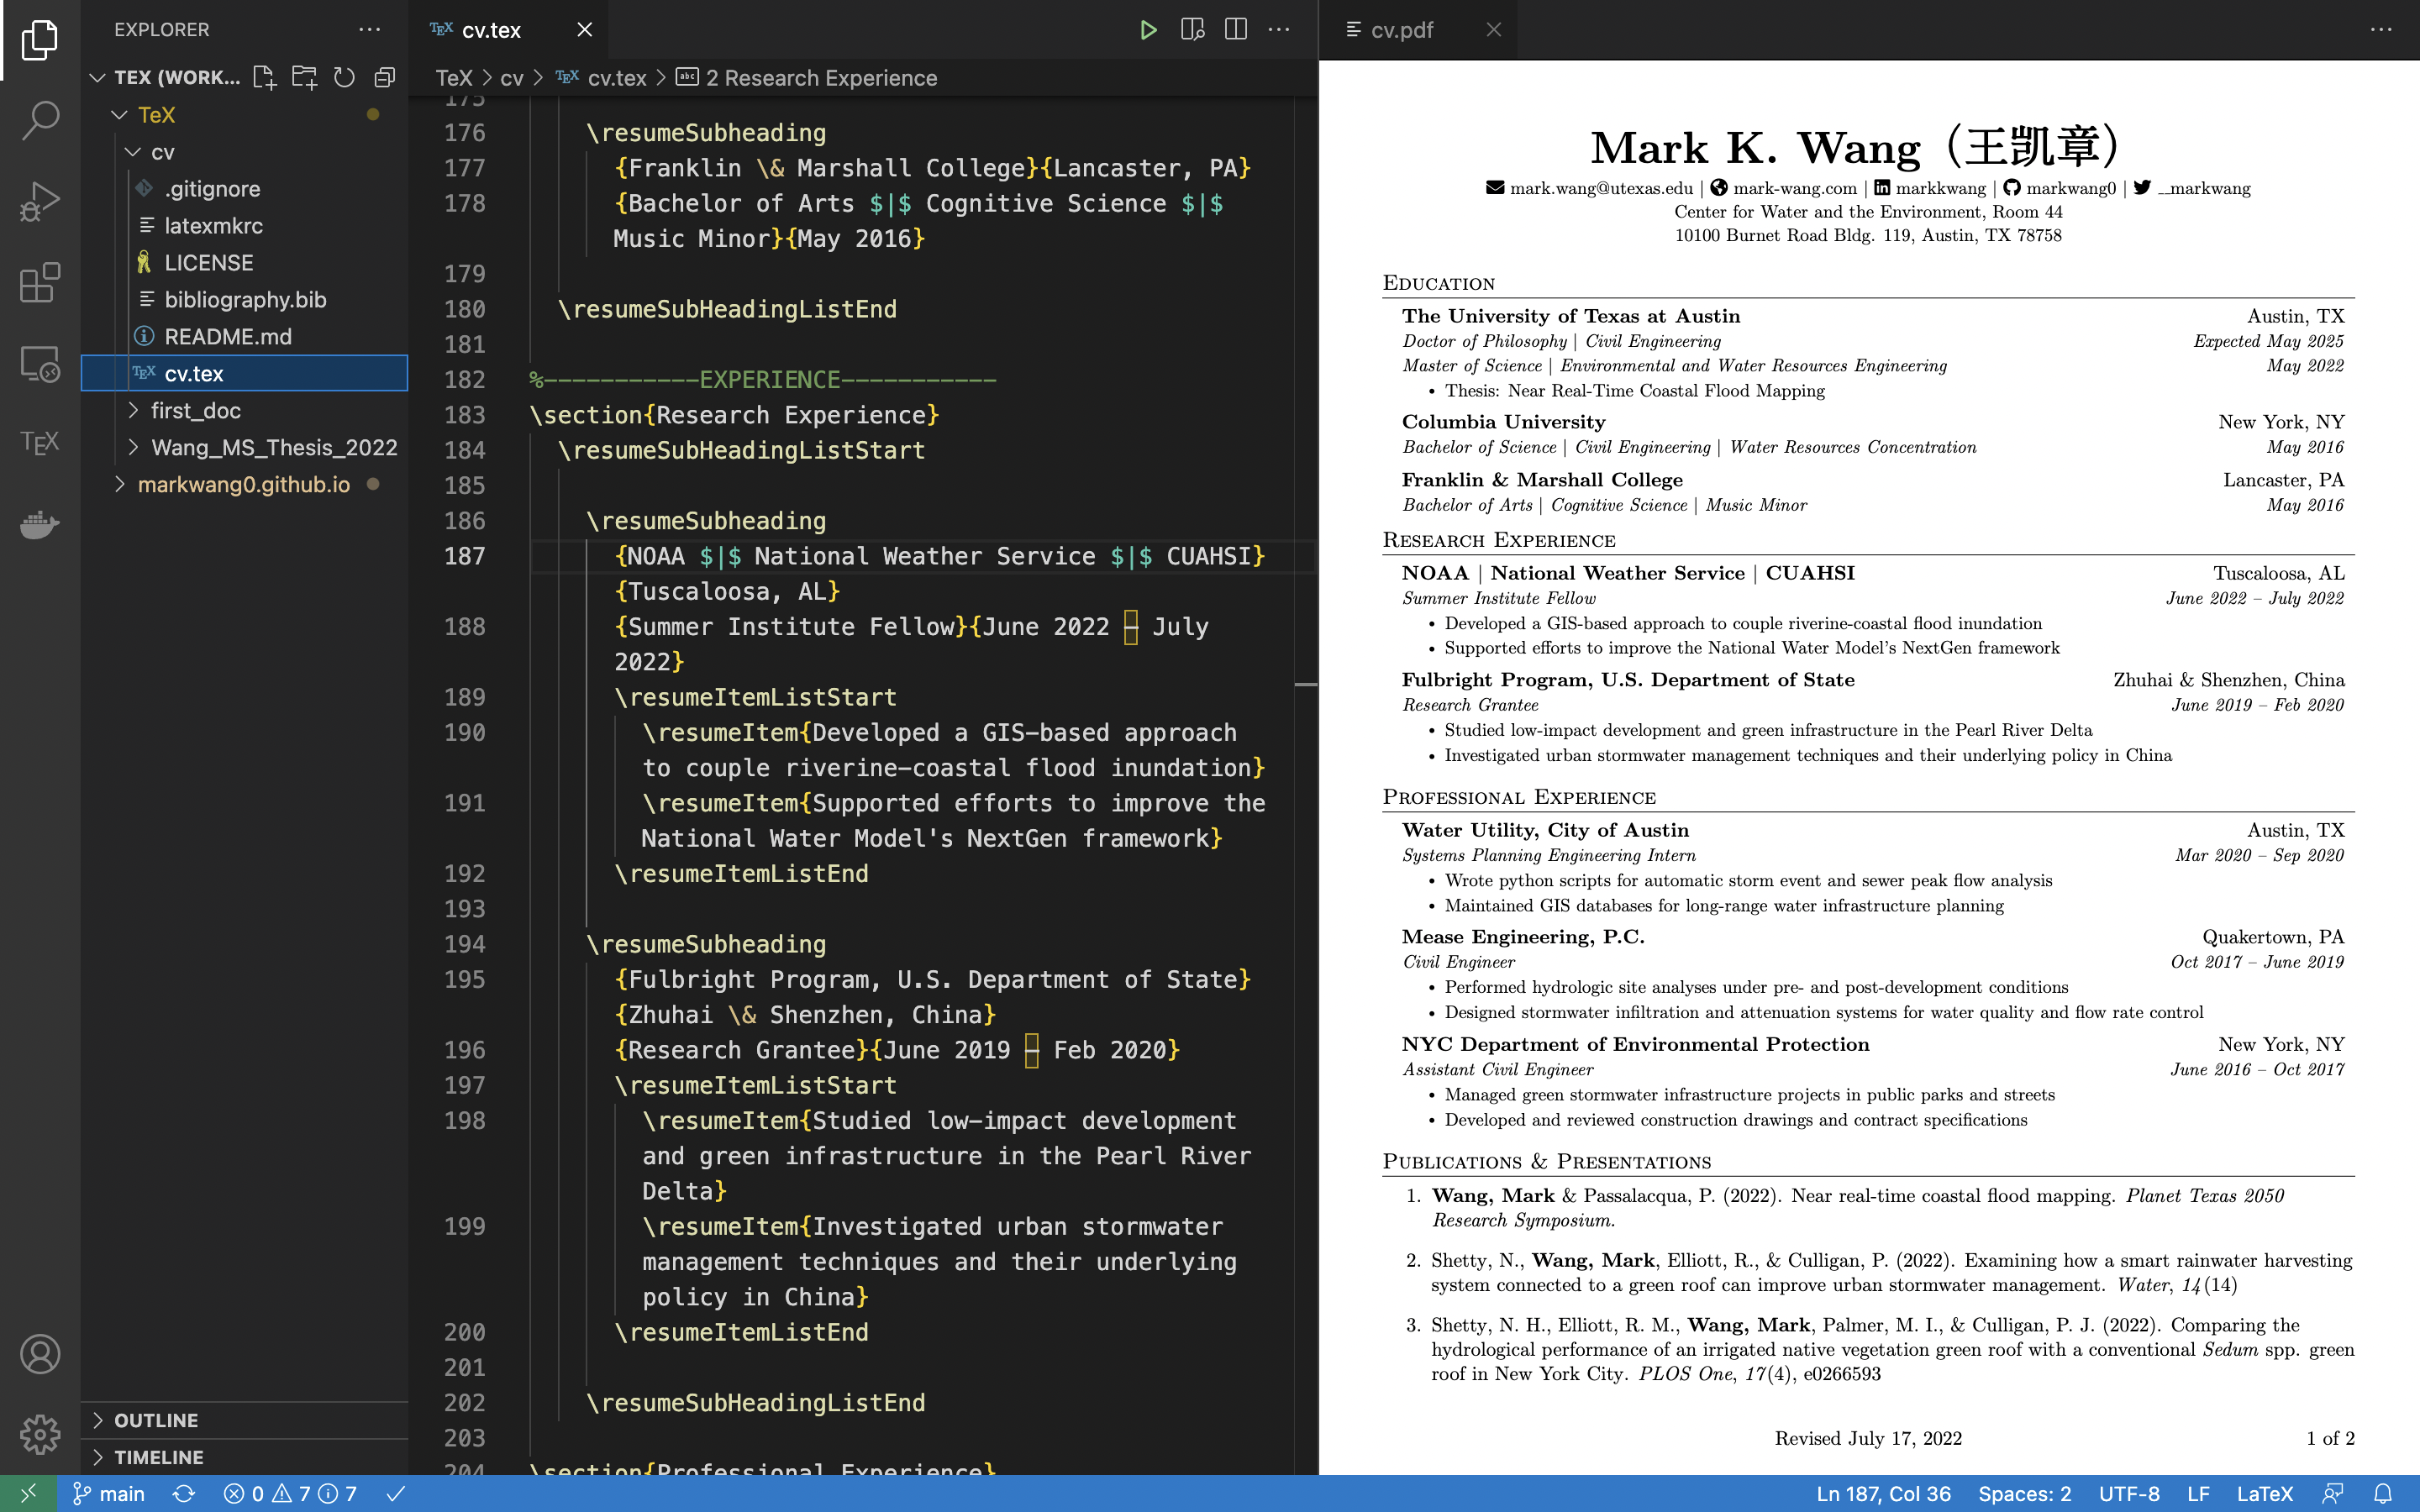
Recently I switched to VS Code as my editor of choice and have been exploring the extensions that it has available. I found the extension LaTeX-Workshop to offer exactly what I was looking for: a local LaTeX environment with comparable convenience to Overleaf. If you’re interested in switching from Overleaf to VS Code, hopefully this post is helpful.


Installing TeX Live
These instructions are adapted from LaTeX-Workshop’s excellent wiki.
In order to use LaTeX-Workshop you must first have a local installation of TeX Live. The TeX Live quick install worked fine on my M1 Macbook Pro. The steps I followed to install from the terminal are below. The quick install page also has directions if you are using Linux or Windows or prefer a GUI installer.
Note: the last command downloads over 7 GB onto your computer. Using the --scheme=small flag results in a smaller installation but does not have all of the features required by LaTeX-Workshop out of the box.
$ cd /tmp # or wherever you prefer
$ wget https://mirror.ctan.org/systems/texlive/tlnet/install-tl-unx.tar.gz
$ tar xzvf install-tl-unx.tar.gz # uncompress the tarball
$ cd install-tl-* # uncompressed directory's name ends with today's YYYYMMDD date
$ sudo perl ./install-tl --paper=letter --scheme=full --no-interaction # install
The installation step took about two hours for me with a relatively slow internet connection. After installing I received this warning:
*** PLEASE READ THIS WARNING ***********************************

The following (inessential) packages failed to install properly:

  skills

You can fix this by running this command:
  tlmgr update --all --reinstall-forcibly-removed
to complete the installation.

However, if the problem was a failure to download (by far the
most common cause), check that you can connect to the chosen mirror
in a browser; you may need to specify a mirror explicitly.
******************************************************************
Which I resolved with this command:
$ sudo tlmgr update --all --reinstall-forcibly-removed option repository http://mirror.ctan.org/systems/texlive/tlnet
Finally, I added the path to TeX Live’s executables to my PATH environment variable. The installer will print out the path to add after a successful installation. For me this was /usr/local/texlive/2022/bin/universal-darwin. If you are unsure how to edit your PATH environment variable, a quick Google search should do the trick. I use zsh, so I added the line
export PATH="/usr/local/texlive/2022/bin/universal-darwin:$PATH"
to my ~/.zshrc configuration file.
Installing LaTeX-Workshop
This part is easy. Use this link or search for the “LaTeX-Workshop” extension in VS Code.
Using LaTeX-Workshop
LaTeX-Workshop just worked for me after updating my PATH environment variable. If you update your PATH and are still having trouble, check out possible solutions from the wiki.
Download one of your Overleaf projects from Overleaf’s website, unzip, and open up the main .tex file with VS Code. If you don’t have a LaTeX project to use, feel free to try out my CV which is on GitHub. Then, you can build/compile your document by pressing Cmd+Opt+b (Ctrl+Alt+b on Windows). To bring up the PDF viewer, press Cmd+Opt+v (Ctrl+Alt+v on Windows).
At this point, you can compile your documents in VS Code. In the next section I will share some optional configurations to make LaTeX-Workshop behave more like Overleaf.
Configuring LaTeX-Workshop
LaTeX-Workshop with TeX Live worked for me right out of the box. All the packages I needed were included, including some that seem niche like fontawesome5. If there is a package that you don’t have locally, install it from the Comprehensive TeX Archive Network (CTAN). You can use the command line tool tlmgr included with TeX Live:
$ sudo tlmgr install <package1> <package2> ...
$ sudo tlmgr remove <package1> <package2> ...
Check out the LaTeX Wikibook for more info.
Some other tips:
- To go to a PDF location's corresponding source code Cmd+Click (Ctrl+Clickon Windows)
- Enable word wrapping like Overleaf
- Hide git ignored files in VS Code's explorer view
- Change the background color of the PDF viewer